Carpet does not wear out; it uglies out.
This was the underlying message from Mark Violand, flooring inspector and IICRC-approved instructor during CMM’s 2018 carpet care webinar, “Protecting a Valuable Asset: Carpet.”
Problems like wear and tear, fuzz lines, friction burns, and loss of color can rear their ugly heads for a variety of reasons, but a primary one is improper use and maintenance of equipment. By investing a little time and money in your vacuum technology, you can help to prevent the more expensive problem of having to replace one of facilities’ largest assets: carpet. Below are several tips Violand and his co-presenter, Cleanfax Executive Editor Jeff Cross, provided on how to best avoid expensive carpet care mistakes.
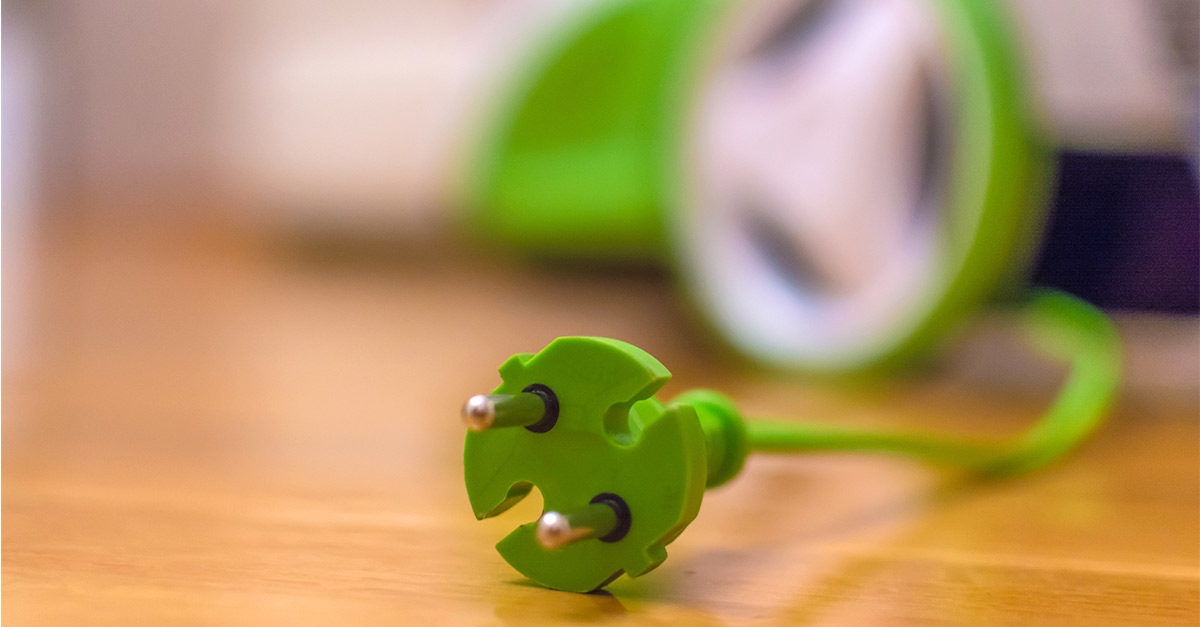
Care for Your Cords
Avoid twisting and damaging vacuum cords by properly wrapping them up after use. After vacuuming, walk over to the outlet, pull the cord from the wall, and drop it to the floor. Once the cord is loose from the wall, go back to the vacuum and wrap it up. The other option is to pick up the cord from the free end and gently wrap it in a coil before placing it back on the vacuum.
Bonus tip: Do not twist the cord around your arm, as that will create a crimp in the cable.
Regularly Check the Brush Bar
Using an overly aggressive or worn out brush bar can cause severe damage to a carpet, so it’s important to make sure your equipment has the proper balance for your floor. If the brushes are not making contact with the floor once the vacuum height has been set, it may be time to swap out the brush bar (commercial vacuums allow for that) or even just the brush strip.
Bonus tip: Not sure if your brush bar is ready for replacement? Use a credit card and drag it across the slot where you can access the brush bar. If you can make contact with the brush bar using the credit card, it should still be sufficient; if the brush bar is worn down to the point where you can’t reach it, order a replacement.
Optimize Airflow
Air must be able to pass through the vacuum in order to remove soil, but not all settings are created equal. To ensure the vacuum is set appropriately, start by dialing up the suction to the highest/strongest setting with the vacuum handle still upright. Once you have done that, pull the handle down as though preparing to vacuum. Last, dial down the setting until there is a change in the motor pitch. It’s possible the brush may even start to pull the vacuum forward. When either of these instances occur, it’s time to start vacuuming.
Bonus tip: Self-adjusting vacuums are also fine to use.
Don’t Forget the Filter
If your vacuum has a light that indicates when your filter needs changing, follow the instructions. Otherwise, replace the filter when it is anywhere between one-half to two-thirds full.
Bonus tip: Don’t wait until the filter has reached its lifespan before replacing it; same with the vacuum bag. Don’t wait until the bag is filled to the top before replacing or emptying. You could be causing damage to your vacuum or preventing it from picking up dirt.
Dirt Doesn’t Discriminate
At the end of the day, “dirt is dirt,” Cross says. No matter the carpet type, if the cleaning approach isn’t proper, the carpet and soil will not respond to the vacuum. Make sure the next time you or a fellow colleague takes a vacuum to the carpet, the vacuum is in proper shape. This will help to maximize results and ensure your operation is working smarter instead of harder.