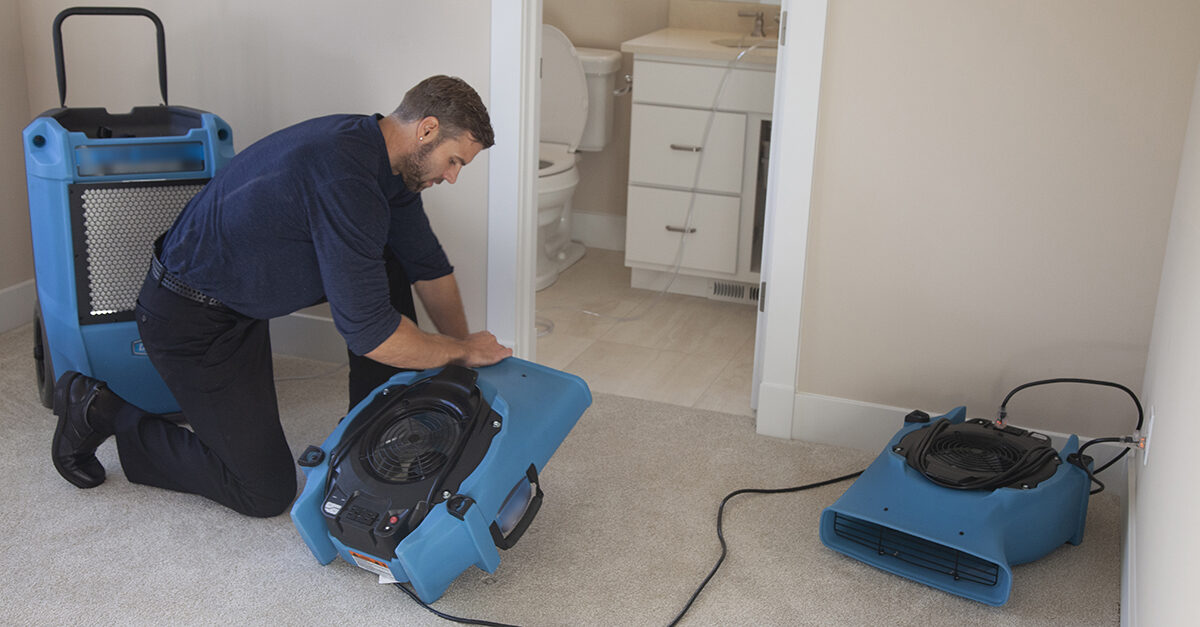
When it comes to water damage, understanding evaporation and how drying equipment is used can be advantageous for facility managers who do water restoration in-house as well as those who hire restorative drying professionals to handle remediation. First, know that humidity, airflow, and temperature (HAT) are necessary for evaporation. Each component of HAT is often considered as equal in creating the ideal conditions for evaporation; however, they are never equal, but rather, balanced in importance based on the drying cycle. Let’s take a look at each of these components and see how they interact to influence the rate of evaporation.
Humidity
Low relative humidity (RH) is necessary for drying, as moisture in materials and air seek equilibrium. The lower the RH of the air, the quicker the wet materials will give up their moisture to become equal with the moisture in the air. Equilibrium relative humidity (ERH) is the air equal to equilibrium moisture content (EMC) in materials. Lower RHs are more important than low humidity ratios (grains per pound [GPP]), as moisture seeks equilibrium based on RH, not GPP.
On the first day of drying, we need buckets for dehumidification due to massive amounts of water that will be evaporated from wet materials. The dehumidifier formulas recommended in the ANSI/IICRC S500 Standard and Reference Guide for Professional Water Damage Restoration, using the simple calculation, get us to the goal of 40% RH on the second day of drying1. However, I see tremendous value in getting RHs in the low 30% or below within 24 hours and keeping it there. Very low RHs can reduce drying times by a day or more. So, add more dehumidification.
The argument I see in my field from third-party administrators (TPAs) or others (franchise and insurance auditors) is “we will only pay for the minimum IICRC recommendation for dehumidifiers” (e.g., large versus extra-large or only one dehumidifier instead of two). As long as materials are drying and you maintain low RHs (40% or below—better yet in the low 30% range), the drying professional is doing his/her job and saving the facility manager and the insurance partners money by reducing drying times.
During declining rates of evaporation, when materials don’t look wet (day two and beyond), low vapor pressures provided by LGR or desiccant dehumidifiers are necessary for efficient drying.
Airflow
Air movement is the workhorse of drying by displacing high RH at the surface of wet materials with lower RH. Circulation airflow moves wet air to our dehumidification systems (either mechanical or ventilation), allowing us to manage RH and water vapor in the air. Sounds simple, but not so, as airflow alone will not dry anything and needs to be balanced with heat (energy) and humidity control. The velocity of airflow, measured in feet per minute (fpm), during the initial stages of drying, known as constant rates of evaporation, ideally should be above 600 fpm2.
It is essential during this stage of drying that all wet materials are exposed to high-velocity airflow (speed, not CFM is most important). The air mover calculation in the S500 is spot-on and should forever end the argument that the restoration contractor put too many airmovers on the job3. During constant rates of evaporation, when materials look wet (liquid water in material), capillary action brings water to the surface of materials, and there is a significant difference between the vapor pressure of the air and wet materials. Physics is working in our favor.
All of that good stuff changes somewhere around the second day of drying. During declining rates of evaporation, high-velocity laminar airflow becomes a deterrent to drying as heat (energy) becomes more important. As is pointed out in Chapter 7 of the S500, “The velocity of airflow has a diminishing return as the water available for evaporation at the surface reduces”4.
Reducing airflow to under 150 fpm allows water in the material to gain energy (heat), increasing the vapor pressure of the water in the material. At this point, energy (heat) brings the big stick to the fight. It seems counterintuitive to remove or reduce air movement when materials are not dry, but reducing air movement will actually speed up the drying at this time. Going to a circulation model instead of directed airflow reduces the cooling effect of direct airflow, allowing water in the material to gain energy more efficiently.
Temperature
We often get stuck on the idea that high temperatures are needed for evaporation (e.g., water boils at 212 degrees Fahrenheit). But energy is what we need, measured as enthalpy or BTUs. Heat (energy) is necessary to break the chemical bonds that hold individual water molecules that form liquid water together. For evaporation to occur, energy must be added to the water. That energy (heat) comes from the surface of the wet materials. Evaporation’s net effect to the surface temperature is cooling as energy from the material is added to the water. Cooler surface temperatures on the first day of drying is good since temperatures can be near or below the ideal temperature for mesophilic mold and bacteria growth5.
So, what is the ideal drying temperature? That depends on the timeline of drying. On day one, 70 to 90 degrees Fahrenheit is best for a number of reasons. This temperature range is comfortable, it is the optimum performance range for refrigerant dehumidifiers, and there is little risk of overheating liquid water in materials and causing damage.
As the job progresses and moves into declining rates of evaporation, heat (energy) has a greater influence on evaporation than airflow. Our equipment is throwing off BTUs and increasing temperatures at just the right time. By adding energy to the water in the material, we can increase the vapor pressure of the water in the material, thereby increasing the vapor pressure differential between the materials and the air. The greater the difference, the faster the drying.
Maximizing equipment efficiencies
Drying professionals are often criticized for using too much equipment on the job. Here is the deal: a lot of equipment reduces drying times, period. As a facility manager or building operator, you can see one of two options at work: a lot of equipment and short drying times or a little equipment and long drying times. Pick one. You don’t get short drying times with limited amounts of equipment. Unfortunately, by doubling up on equipment, you don’t reduce drying time by 50%; if it were that simple it would be an easy sell.
Keep this in mind: High-velocity air movement is necessary on all wet materials on day one. Reduce airflow (slower fan speeds and/or pull airmovers) during declining rates of evaporation and add heat. Toward the end of the job and after you have pulled some airmovers, consider turning off one of your dehumidifiers for an hour. If the RH goes up, document and turn the dehumidifier back on.
Remember, low RHs are more important than grain depression (water removal). Toward the end of the job, I commonly have only one airmover in each room (where the drying goal has not been met) and all of my dehumidifiers running.
By maximizing our efforts, restorative drying professionals can bring value to facility managers and insurance partners by reducing the time to dry wet contents and materials. This time savings in turn saves you money on your facility budget and helps you reopen those damaged areas faster.
References:
ANSI/IICRC S500, 4th Addition, Chapter 13, “Structural Restoration.”
ANSI/IICRC S500, 4th Addition, Chapter 7, “Psychrometry and Drying Technology.”
ANSI/IICRC S500, 4th Addition, 13.5.6.1, “Controlling Airflow.”
ANSI/IICRC S500, 4th Addition, Chapter 7, “Psychrometry and Drying Technology.”
Bioaerosols: Assessment and Control, American Conference of Governmental Industrial Hygienists, 18.1.3, 19.1.5.3.


