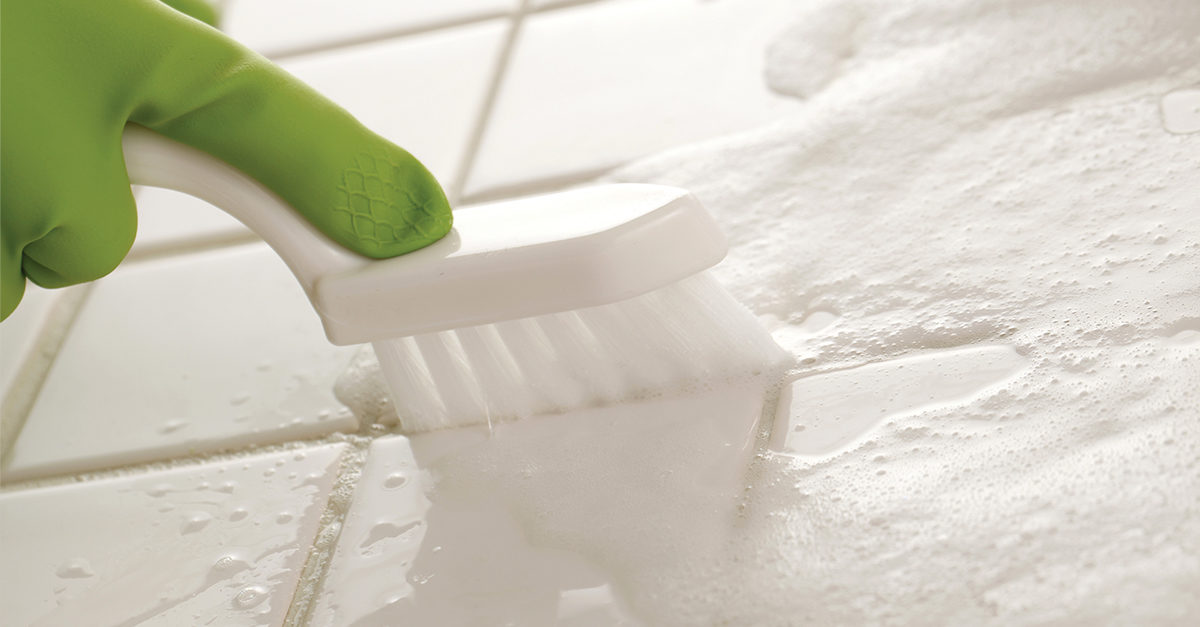
The cleaning of grout and tile is a challenging task.
The real problem is the grout; tile itself, although it may become soiled, is seldom penetrated by contamination due to the hardness and impervious surface of most ceramic tile. When mold and mildew (fungus) are involved, the job of cleaning and restoring tile and grout becomes even more difficult.
Here are several tips for treating mold and mildew buildup on your facility’s tile and grout.
Recognize the Source
From a technical standpoint, mold is seldom the issue. More often than not, we are dealing with the removal of soil, soap scum, skin and body oil, and mildew that is growing and living off this combination of contamination. Such conditions are often found in showers and tubs, floors, locker rooms, kitchens, and other areas where moisture and organic matter are present, and where thorough detail cleaning is not completed on a daily or routine basis.
The first signs of mildew growth are a dark or black discoloration of the soils that build up in the corners, edges, and on the surface of the grout. If a facility manager allows this condition to continue, a slimy biofilm often develops on the surface of the accumulated soil.
In even more extreme cases and when ventilation is poor, you may notice a sweet musty odor in the area. The longer these conditions exist, the more difficult they are to remove, and the greater the possibility that permanent damage/discoloration will occur.
Use Prevention Methods
As with other types of cleaning, prevention and regular service is the best approach. When this doesn’t happen, removal and restoration is more difficult, time consuming, and costly, and often requires the use of harsh, toxic chemicals and a lot of hard work. This is one area where an ounce of prevention is definitely worth a pound of cure.
Inspect and Plan
Before the actual cleaning begins, evaluate/inspect the area to determine the scope of work. This may include determining which equipment, tools, supplies, and chemicals to use; how long you think the work will take to complete for one or more workers; and the best day and time to schedule the project.
Put Safety First
Some people may be sensitive to the removal of fungus or mildew, not to mention the use of water and chemicals may lead to slippery surfaces and splashing may occur. There is no reason to expose yourself or others to these potentially hazardous conditions.
Personal protective equipment (PPE) is a must for this type of work. Typical PPE may include gloves, goggles, anti-slip footwear, knee pads, a rubber apron, wet floor signs or caution tape, and a dust mask respirator. A full-face plastic shield, rain gear, rubber boots, and fresh air ventilation is recommended if extreme conditions exist or when using pressure-washing equipment.
Remember: Never mix chemicals or use more than one chemical at a time on a surface unless instructed to do so by the manufacturer.
Test, Test, Test
Before you begin cleaning, test your process and products on an area that is 3 inches by 3 inches. Don’t proceed until you determine which products and processes will provide the desired results. If you can’t get a small area clean, applying more of a product that doesn’t work isn’t going to make it work. Depending on the situation, you have multiple restorative cleaning options.
For a Small or Easy Job
If the soil buildup is not too bad:
- Simply spray with a good alkaline or disinfectant cleaner.
- Allow for some dwell time (2–3 minutes; don’t let it dry out).
- Scrub the area with a stiff brush.
- Remove the soiled solution.
- Repeat the process.
Follow these steps with a good rinse of the area, or better yet, pick up the soiled solution with a wet vacuum. Inspect your work and if all the soil, mildew, and buildup are gone, you’re done with the cleaning part of the job.
If a cement-based grout is involved, once the grout is totally dry (which may take 4 to 12 hours, or 30 minutes to 1 hour if you heat the area), applying one or two coats of a penetrating/impregnating sealer to the grout lines will help prevent a reoccurrence of the soiling conditions and will make future cleanings easier and faster.
For Restorative Cleaning Processes
If the soil or mildew buildup is heavy on the grout/tile, use one or more of the following practices:
- Heavy duty scrub or strip. If there is a topical floor finish or coating on the tile and grout, you will have to use a chemical floor finish stripper to remove it before you can actually clean the grout. Once you remove the floor finish, scrub the surface with a nylon grit or carpet shampoo brush, inspect it for complete cleaning, rinse well, let it dry, and apply one or two coats of a penetrating or impregnating sealer.
- Pressure washing. If the grout is in good condition, and water overspray and run off is not a problem, this may be a practical solution to cleaning the grout and tile. Apply an alkaline cleaner, brush it, let it dwell, scrub it again, and use the pressure washer to clean the surface. Don’t get the nozzle too close to the grout or you may damage it. Keep the pressure below 800 pounds of pressure per square inch (PSI) for the best results and the least chance to damage the grout.
- Rotary jet extraction. Several companies manufacture hand and floor wands with a spinning head below a vacuum shroud that is connected either to a pressure washer, or to portable or truck-mounted carpet extraction equipment. These can be quite effective and fast as they incorporate hot water under high pressure and vacuum removal all in one process. When cleaning sanded grout, make sure the shroud has a brush and not a rubber boot around the bottom edge, as sand can get under the boot and scratch the floor. Hand tools are available for edge work. For best results, a chemical can be applied prior to the cleaning and may dwell for several minutes to break down and suspend soils. Limit the pressure to 800 PSI or less, and check the grout for damage before proceeding with more than a very small test area.
- Dry vapor steam cleaning. This is an effective chemical-free process for removing soil and mildew. The process uses dry vapor under pressure to deep clean the tile and grout. This high-temperature process kills the mildew and helps prevent its regrowth.
Tips, Tricks, and Caution
Consider these tips when selecting tools and products for cleaning tile and grout:
- Explore your options. Some commercial carpet spotting chemicals work well to remove stains from grout. Additionally, a number of companies sell specialized grout cleaning products. However, always test before widespread use.
- Avoid acid-based products. These can damage grout and metal surfaces. Such products are typically not necessary, but if you use them, be careful and follow label directions exactly.
- Use the right tools. A squeegee, a deck brush, and a V-shaped grout brush are handy tools to use when cleaning grout, tile floors, and walls.
- Avoid the wrong tools. Floor pads are not effective for cleaning grout and tile. Do not use abrasive brushes, pads, or powders as they can scratch and dull shiny surfaces.
- Maintain it properly. Once a grout and tile floor is clean, it is best to maintain it with a spray-and-vacuum system, not a mop and bucket.
Unfortunately, some grout is beyond cleaning. If the grout is soft, powdering, missing, or has large cracks, it needs to be replaced, not cleaned.
How to Price a Tile and Grout Job
You can price this type of project by the job, the hour, the square foot, or the time and materials you use. Bidding by the square foot is the most common approach.
Here are some pricing options:
- Light to medium soiling: US$0.75 to $1.25 per square foot
- Medium soiling: $1.25 to $1.75 per square foot
- Sealing: $0.50 to $1.25 per square foot. (This depends on the cost of the product, method and application rate, number of coats, market rate, and other factors.)


